


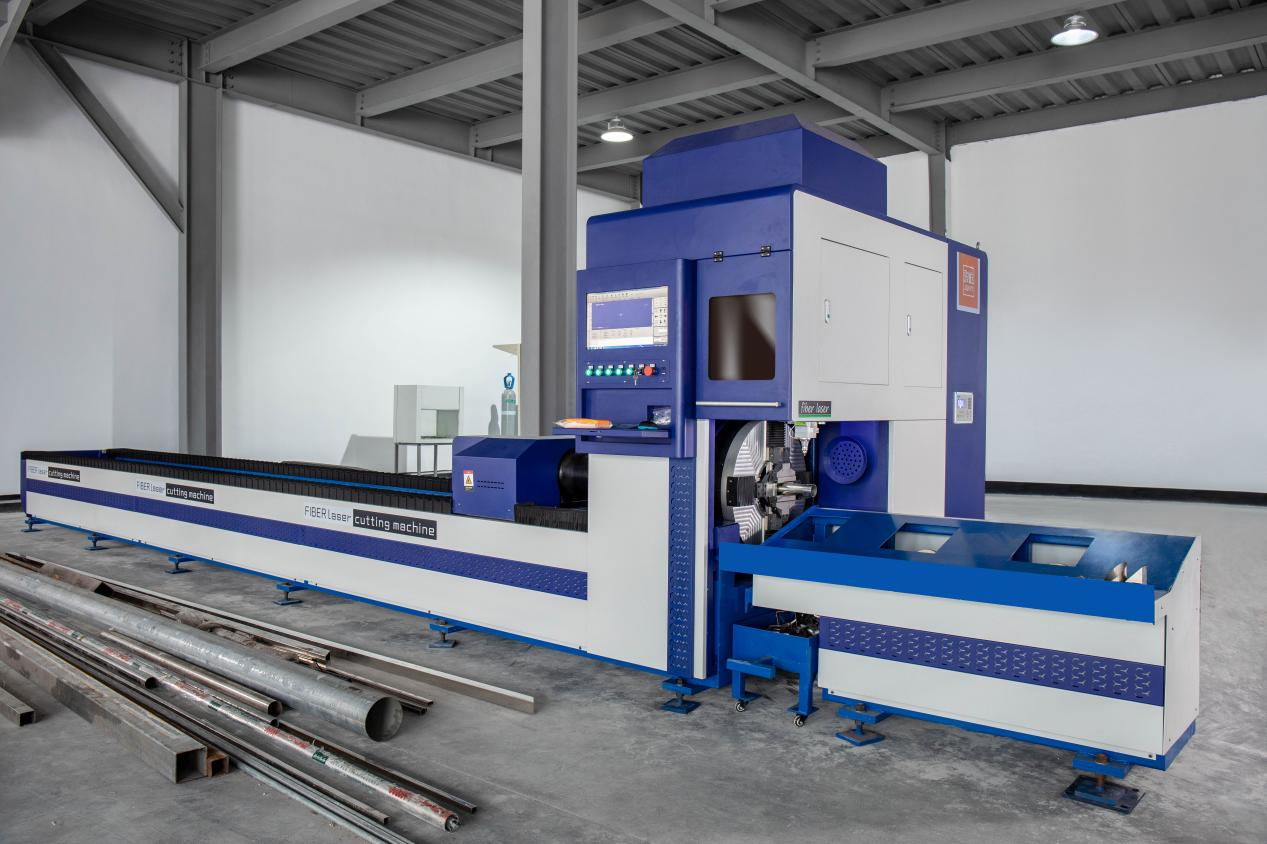


Laser Maintenance Guide After Holidays
The downtime of laser equipment is generally longer on holidays. To help you resume work quickly and smoothly, we have carefully prepared a laser resumption guide to help you get started!
Warm reminder: If the integrator has more detailed instructions, this instruction can be used as a reference file and implemented as appropriate.
Step 1: Security matters
1. Power off and water off
(1) In order to ensure the safety of personnel and equipment, ensure that the power supply of the laser system and the water cooler is off;
(2) Close all water inlet and outlet valves of the water cooler.
Tips: Do not point your eyes directly at the laser output direction at any time.
The second step: system inspection and maintenance
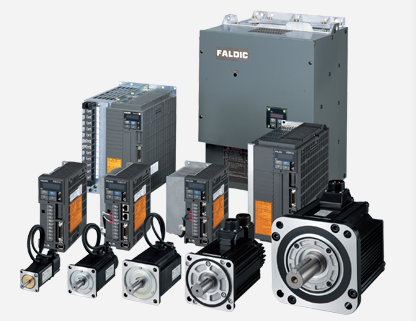
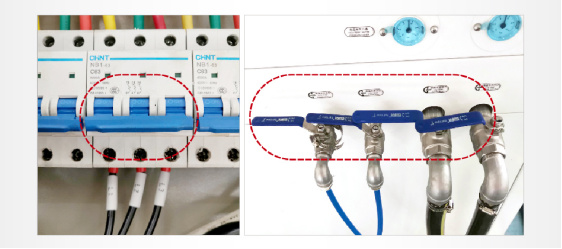
1. Power supply system
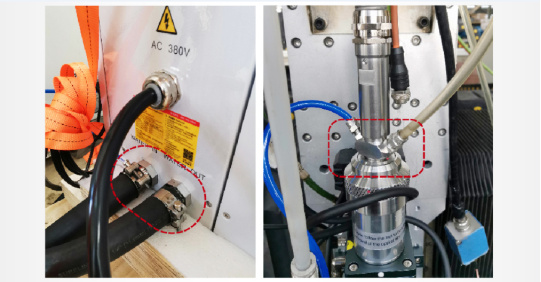
(1) Power supply line: no serious bending, no damage, no disconnection;
(2) Power cord connection: press the plug to ensure a firm connection;
(3) Control signal cable: The interface is firmly connected without looseness.
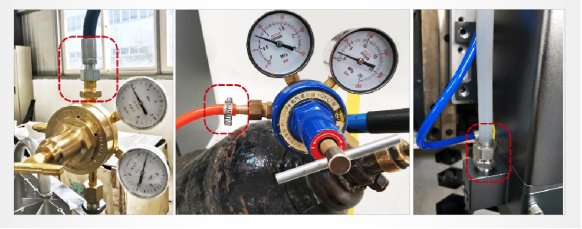
2. Gas supply system
(1) Gas pipeline: no damage, no blockage, good airtightness;
(2) Tighten the joints of the gas pipelines to ensure a firm and smooth connection;
(3) Use gas that meets the standards according to the requirements of the equipment manufacturer.
3. Water cooling system
(1) Confirm again that the inlet and outlet valves are closed;
(2) Water tank / water pipe: no bending, no blockage, no damage, the water pipe of the water tank is cleaned;
(3) Tighten the water pipe joints to ensure a firm and smooth connection;
(4) If the air temperature is lower than 5 ℃, you need to use warm air equipment to blow the internal pipes of the water cooler for a period of time to confirm that there is no freezing;
Tips: If the equipment is shut down for a long time in the environment below 0 ℃, you need to carefully check whether the cooling water pipe has ice or signs of ice formation.
(5) Inject the prescribed amount of distilled water into the water cooler and let it stand for 30 minutes to ensure no signs of water leakage;
Tips: When the temperature is lower than 5 ℃, you need to dilute it according to the correct method and add antifreeze.
(6) Turn on the power switch of the water cooler, and keep the power of other equipment off;
(7) Open the inlet and outlet valves of the water cooler a little, and run the water cooler to circulate the cooling water from the laser and the optical head to the water tank at a low flow rate, and evacuate the excess air in the water circuit pipeline. This process is recommended to be completed within 1min;
(8) Mark the position of the water level of the water tank, let it stand for 30 minutes again, observe whether there is any change in the water level, and ensure that there is no leakage in the internal pipeline;
(9) When there is no problem in the above confirmation, restart the water cooler, and open the water valve normally, wait for the water temperature to reach the set temperature, and prepare for the operation of the equipment.
The third step: equipment operation detection
1. The device is powered on
(1) Confirm that the water temperature of the water cooler has reached the set temperature;
Tips: The speed of water temperature rise is related to whether the water cooler has heating function.
(2) Turn on the power switch of the laser processing system. After the laser is powered on, the POWER indicator on the laser panel will light.
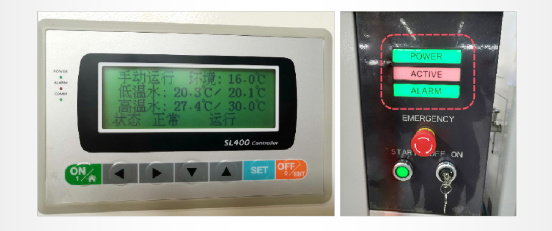
Tips: Check the optical circuit first, do not directly emit light or process for a while. After the laser is started, observe whether the indicators are normal and whether there is an alarm. If there is an alarm, you can connect the laser monitoring software to view the alarm information and contact the equipment supplier!
2. Detection before emit light
(1) Select the red light detection method to check the cleanliness of the lens
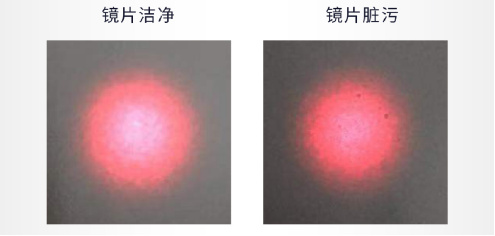
Left: Clean / Right: Dirty
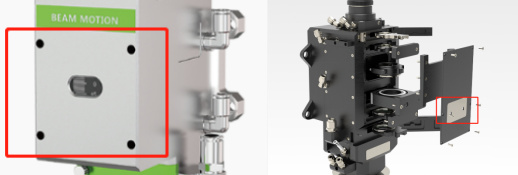
(2) Coaxial test: judge the coaxiality of the nozzle exit hole and the laser beam according to the following standard.
Test results: No abnormalities.

Left: Normal / Right: Abnormal
If the abnormal condition happens, you could adjust the position of laser beam by rotating the screw with the help of the hexagon key. And then to test the position of laser beam till the focus points are overlapped.
Left: Raytools/Right: Boci